Slips and falls remain the most common cause of non-fatal workplace injuries in the UK, accounting for over 29% of reported incidents in 2022/23 according to HSE data. That is not a marginal issue. It affects hospitality staff, delivery drivers, healthcare workers, office employees, and anyone moving between environments during the day.
Work patterns have changed. People now shift between offices, public transport, client sites, and outdoor environments. The responsibility for traction often becomes personal rather than controlled by a single workplace.
The problem looks simple: shoes need friction. But many soles leave the factory too smooth. Materials like hard rubber, leather, and synthetic compounds are durable, yet they often lack immediate grip. Some even carry manufacturing residues that reduce traction during the first weeks of wear.
There are solutions. Some cost nothing. Others require professional modification costing £40–£100. The mistake is assuming they are interchangeable.
They are not.
Understanding Why Shoes Slip - The Physics of Friction
Traction depends on two key forces:
1. Static Friction
This prevents the initial slide.
When you step forward, the friction between sole and floor must exceed the horizontal force created by your body movement.
- Smooth soles reduce the coefficient of friction
- A value below 0.4 is generally considered not slip-resistant in occupational testing standards such as ASTM F2913
If static friction fails, sliding begins.
2. Kinetic Friction
This controls motion once sliding starts.
On wet floors or ice, kinetic friction determines whether you regain balance.
Tread patterns help by:
- Displacing water
- Maintaining rubber-to-surface contact
- Preventing hydroplaning at walking speed
A worn, smooth sole cannot displace liquid. Water becomes a barrier layer.
Manufacturing Residues: The Overlooked Risk
New leather and synthetic soles often contain:
- Mould release agents
- Polishing compounds
- Surface sealants
These create a microscopically smooth finish. Breaking shoes in naturally removes this layer, but it can take weeks.
During that time, risk is higher and most advice fails to mention this.
The Critical Decision: Durability vs Reversibility
Before choosing any method, consider this core question:
Do I need this change to be reversible?
Many guides list options randomly. A better approach categorises them by commitment level:
| Method | Cost | Duration | Reversible | Risk to Shoe | Best For |
|---|---|---|---|---|---|
| Masking Tape | £ | Hours | Yes | None | Emergencies |
| Hairspray | £ | Hours | Yes | Minor (leather drying) | Short-term indoor use |
| Sandpaper | £ | Weeks–Months | No | Moderate | New rubber soles |
| Grip Pads | ££ | Months | Semi | Low–Moderate | Regular slip exposure |
| Salt + Adhesive | ££ | Weeks | No | High | Heavy-duty environments |
| Professional Resoling | £££ | Years | No | Low (when done properly) | High-value footwear |
This framework prevents two common mistakes:
- Using temporary fixes in high-risk settings
- Permanently damaging expensive shoes unnecessarily
The Top 6 Solutions in Detail
Temporary Measures (Hours to Days)
Masking Tape
Mechanism:
The cloth texture increases mechanical friction. Adhesive bonds temporarily to the sole.
Best for:
- Unexpected slippery floors
- Travel situations
- Testing traction before committing to permanent modification
Limitations:
- Fails quickly on wet surfaces
- Adhesive degrades with moisture
- Leaves residue if left overnight
- Can peel visibly
Application Steps:
- Clean sole with isopropyl alcohol
- Apply two strips in an X pattern at heel and ball
- Press firmly for 30 seconds
Short-term only.
Hairspray
Mechanism:
Contains polymers that leave a tacky film when dry.
Best for:
- Rubber or synthetic soles
- Immediate indoor use
Limitations:
- Washes off with water
- Needs reapplication every 4–8 hours
- Alcohol-based sprays may dry leather
- Some formulations stain floors
Useful in emergencies. Not reliable long term.
Semi-Permanent Modifications (Weeks to Months)
Sandpaper Abrasion
Mechanism:
Aluminium oxide or silicon carbide particles create micro-grooves in the sole.
- 50–80 grit = aggressive
- 120–150 grit = moderate
Best for:
- New glossy soles
- Rubber work shoes
- Moderate slip environments
Risks:
- Removes protective coatings
- Cannot be reversed
- May void warranties
- Uneven sanding affects gait
Industry consensus suggests 0.5–1mm texture depth improves traction without major compromise, though no formal published study defines optimal abrasion depth.
Proceed carefully. Stop once uniform roughness appears.
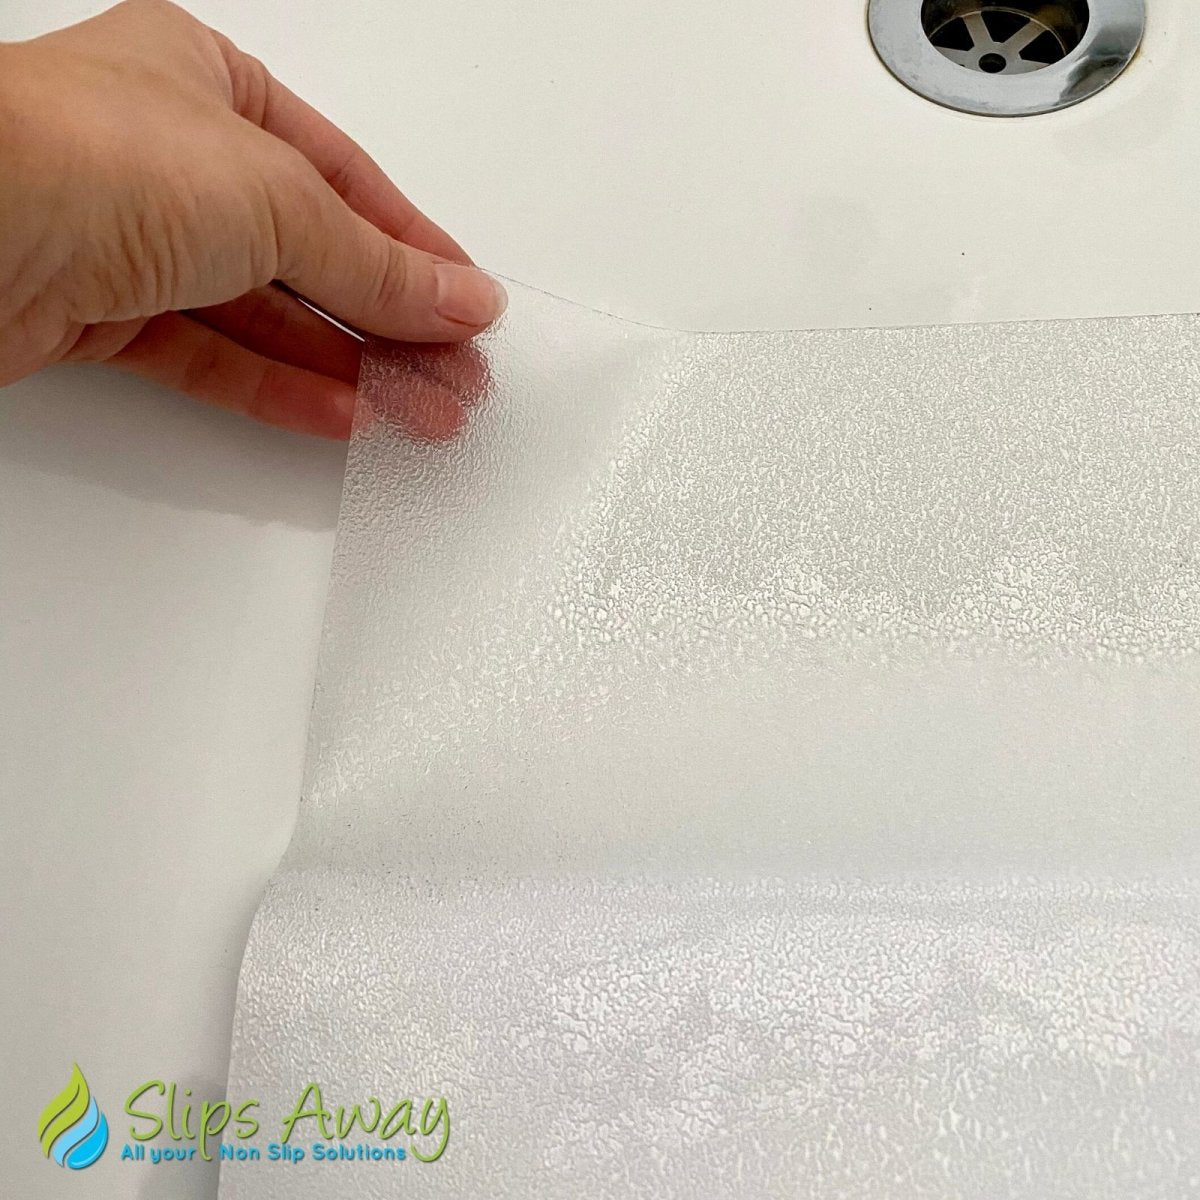
Adhesive Grip Pads
Mechanism:
Rubber or silicone pads with tread channels bond to soles using pressure-sensitive adhesive.
They:
- Displace water
- Increase contact edges
- Improve grip on smooth indoor surfaces
Advantages:
- Invisible from above
- No structural damage
- Suitable for office or hospitality use
Limitations:
- Cheap pads peel quickly
- Adhesive weakens below 5°C or above 35°C
- Thickness above 3mm alters fit
- Removal leaves residue
Look for:
- Acrylic adhesives
- Surface-specific ratings (wet, oily, dry)
- Thin profiles
This is often the most balanced solution for regular exposure and you can read more about Adhesive Grip Pads here.
Permanent Solutions (Months to Years)
Professional Resoling
A cobbler replaces the sole with certified slip-resistant material.
Materials may meet:
- SATRA TM144
- ASTM F2913
- EN ISO 20347
Best for:
- Shoes over £150
- Daily high-risk environments
- Workplace compliance
Costs: £40–£100
Turnaround: 5–10 days
Not all shoe constructions are suitable (cemented soles may not allow full replacement).
Salt + Adhesive Texture
Mechanism:
Coarse salt mixed with strong contact adhesive creates embedded grit.
Pros:
- Aggressive traction
-
Low material cost
Cons:
- Permanent
- May damage flooring
- Salt may degrade sole material over time
- Uneven pressure points possible
Functional but crude.
Context-Specific Applications
Ice and Winter Conditions
Rubber hardens in cold temperatures. Friction decreases even with rough texture.
Ice grips with metal studs work through penetration rather than surface friction.
Limitation:
- Damage indoor floors
- Must be removed indoors
For mixed indoor/outdoor work, consider removable traction systems.
High-Heeled Shoes
Reduced contact area increases slip risk.
Better solution:
- Replace heel tip with slip-resistant rubber “top lift”
- Avoid thick pads that alter pitch angle
Cost: £15–£30 via cobbler.
Workplace Compliance
Important distinction:
DIY modifications do not create certified slip-resistant footwear under UK regulations.
For genuine occupational slip hazards, footwear should comply with:
- EN ISO 20347
- Relevant HSE guidance
Modification reduces risk but does not equal certification.
Decision Framework - Stop my Shoes from Slipping
Follow this structured approach:
Step 1: Assess Shoe Value
- Under £50 → Modification acceptable
- £50–£150 → Semi-permanent preferred
- £150+ → Consider professional work
Step 2: Define Duration
- Single event → Tape or spray
- 1–4 weeks → Sandpaper
- 2–6 months → Quality grip pads
- Long-term → Resoling or new footwear
Step 3: Identify Primary Hazard
- Wet indoor floors → Treaded grip pads
- Ice → Studded grips
- Grease/oil → Certified footwear only
- Smooth new soles → Controlled abrasion
Step 4: Evaluate Reversibility
- Must preserve condition → Tape
- Moderate modification acceptable → Grip pads
- Permanent change acceptable → Sandpaper or resoling
A Balanced Long-Term Option: Anti-Slip Shoe Pads

For many people, adhesive grip pads represent the most practical middle ground between temporary hacks and expensive resoling.
High-quality anti-slip pads are available in different colours depending on your footwear style and visibility preference:
- You can buy clear anti-slip shoe grip pads if you want minimal visual impact on lighter soles:
- You can buy red anti-slip shoe grip pads if you want a visible grip layer or need colour coordination:
- You can buy black anti-slip shoe grips for darker soles or formal footwear:
These types of pads typically provide:
- A textured traction surface
- A thin profile that does not significantly alter shoe fit
- A replaceable system, allowing renewal without structural modification
Compared to sanding or adhesive grit methods, properly designed grip pads preserve sole integrity while delivering months of improved traction in common indoor slip environments.
For daily moderate slip exposure, this is often the most practical balance of durability, cost, and reversibility.
Conclusion
There is no universal solution.
- Masking tape works in emergencies.
- Hairspray helps briefly indoors.
- Sandpaper improves new smooth soles but is irreversible.
- Grip pads offer medium-term traction without structural damage.
- Professional resoling suits valuable footwear and long-term risk.
The key mistake is treating these options as equal. They are not.
Match the level of modification to:
- The value of the shoe
- The duration of need
- The environmental hazard
- The requirement for reversibility
And remember: if your occupation involves ongoing slip hazards, investing in certified slip-resistant footwear may be safer than modifying standard shoes.
Practical decisions. Clear trade-offs. Safer movement.